Fixing Cracked Granite: Repair & Restore Guide
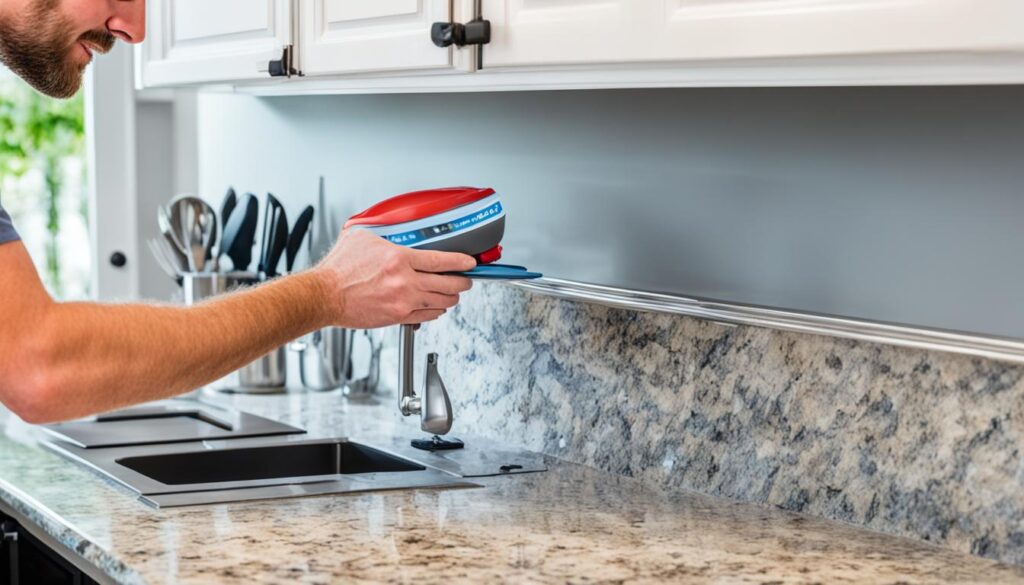
Granite countertops are known for their beauty and long life, lasting from 10 to 20 years. Yet, they can develop cracks. This might happen because of bad installation or just from regular use. Knowing how to repair and restore cracked granite surfaces is key to keeping them looking great. Epoxy is a great material for granite countertop repair. This guide will show you how to use epoxy, from cleaning the crack to polishing the final fix.
Key Takeaways
- Granite countertops can last 10-20 years, but cracks may still occur.
- Two teaspoons of granite powder are sufficient for repairing cracks up to one foot long.
- Epoxy products are tailored for specific repair purposes such as filling cracks or patch defects.
- Granite’s porous nature requires an annual seal for long-term durability.
- Daily cleaning requires only hot water, while special granite cleaners are recommended for more thorough cleanings.
Understanding the Causes of Granite Cracks
Granite can crack due to both natural and human causes. Notably, granite countertops may have natural fissures. These are different from more worrying cracks. They often blend with the stone’s surface but can weaken it when something heavy is placed on them.
Bad installation plays a big role in granite cracking. This type of stone is thin, usually 2 to 3 cm thick. It can break or crack during transport, shaping, or fitting. This risk is higher around sinks and cooktops because the granite is thinner there.
Too much heat can also be a problem. Placing hot pots on granite without something under them can cause it to crack. To avoid this, ensure granite is properly installed and protect it from high heat.
Experts can tell why granite has cracked and suggest how to fix it. It’s crucial to know if a crack is just a natural fissure or a serious flaw. More minor cracks by sinks can often be fixed with special epoxy. But, bigger problems need immediate care to stop worse harm.
Granite is sensitive to many damages, so knowing its risks is key. Careful installation, preventing rough use, and understanding its nature can help avoid damage. These steps are vital for keeping granite countertops looking good for a long time.
Types of Granite Cracks: Hairline vs. Separated Cracks
It’s essential to know the various cracks in granite countertops. Even though granite is tough and lasts 10-20 years, it can still crack. These cracks come from different reasons. It’s advised to seal your granite every year. This helps keep it in good shape. Now, let’s see how to tell apart hairline cracks from separated ones.
Identifying Hairline Cracks
Hairline cracks are small and barely visible in granite. They don’t affect the granite’s strength. They might look bad but they’re not usually a big problem. Because they don’t change the surface much, they can be left alone. Keeping your granite clean and doing regular maintenance is often enough to handle hairline cracks. This keeps your granite countertop looking good.
Identifying Separated Cracks
Separated cracks, on the other hand, are more serious. They are visible gaps that can get bigger over time. If not fixed, they might make your countertop unstable. Professionals use special glue mixed with granite dust to match the color. This makes the repair less noticeable. Sometimes they use metal brackets to support the countertop. It’s vital to spot these cracks early and get them fixed soon.
Whenever you need granite chip repair or have separated granite cracks, talk to a pro. This ensures the fixes are just right. Following these tips will keep your granite countertop beautiful and strong for a long time.
Prevention Tips to Avoid Granite Cracks

Granite countertops are known for their strength and beauty. They can last 10-20 years with the right care. This means focusing on granite crack prevention and staying on top of upkeep. Here are some key tips to keep your granite looking good.
Annual Sealing
Sealing your granite every year is important. The stone can absorb liquids, leading to stains or cracks. By sealing it regularly, you protect it from damage and keep it looking new. This step is crucial for the longevity of your countertops.
Regular Maintenance
Regular upkeep helps prevent cracks. Use the proper cleaners to avoid wearing off the seal. Always clean up spills quickly to stop stains. Also, never put very hot things directly on granite to avoid damage.
Granite’s edges are especially prone to cracking, so be cautious. Following these steps ensures your countertops stay attractive and strong for a long time.
- Avoid harsh cleaners and opt for granite-specific products.
- Wipe up spills immediately to prevent staining.
- Place hot objects on trivets or mats to avoid thermal shock.
- Use cutting boards to prevent scratches and surface etching.
| Maintenance Tip | Action | Benefit |
|---|---|---|
| Annual Sealing | Apply a high-quality sealer once a year | Protects against stains and minor cracks |
| Use Granite-Specific Cleaners | Avoid harsh chemicals; use products designed for granite | Maintains the granite’s luster and strength |
| Immediate Spill Cleanup | Wipe up spills as soon as they occur | Prevents staining and damage |
| Use Trivets and Mats | Place hot objects on protection, not directly on granite | Reduces risk of thermal shock |
| Edge Support | Ensure proper support along edges and cutouts | Prevents cracks and damage to weaker areas |
How to Repair and Restore Cracked Granite Surfaces
Repairing damaged granite is easy with the right tools. It boosts your countertops’ look and lifespan. Small cracks and chips are often not a problem. But fixing them early stops them from getting worse.
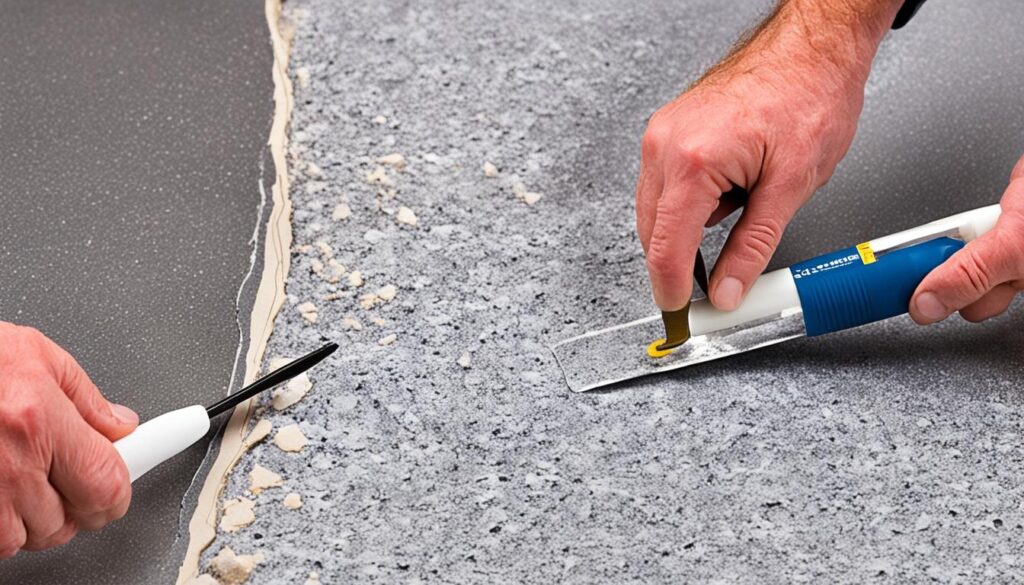
Start by cleaning the damaged area well. Use acetone on the surfaces before gluing them together. Mix epoxy with granite powder to match the color and fill the cracks.
Epoxy shrinks as it dries, so fill the crack more than needed. It takes about 24 hours to dry. A second coat usually smooths it out. Adding support brackets helps, too.
To make repairs last longer, seal the granite often. You can also add rods or strips for extra strength. Having pros install granite reduces the risk of damage.
Repair kits, like the Granite & Marble Acrylic Repair DIY Kit, are handy and cheap. They cost between $20 and $50 online. Work fast once you’ve mixed the epoxy, as it sets quickly.
Companies like Granite ASAP offer a wide choice of stone. They’re experts at fixing granite, making it last longer and look better.
| Type of Crack | Recommended Repair Method | Materials Needed |
|---|---|---|
| Small Cracks and Chips | Granite crack filler with epoxy | Granite powder, Epoxy resin |
| Separated Cracks | Reattaching with epoxy and supporting with brackets | Acetone, Angle irons, Epoxy resin |
| Weakened Countertop Areas | Reinforcement with metal strips or rods | Metal strips, Epoxy resin |
With the right steps and materials, repairing granite can be almost unnoticeable. Whether it’s tiny cracks or bigger ones, you can fix granite affordably and well.
Materials Needed for Granite Crack Repair
Starting granite countertop repair means getting the right items. Top-notch quality is a must. It helps the repair look like it was never damaged. We’ve got a full list of what you need, all the way down to the details:
| Material/Tool | Estimated Cost | Usage |
|---|---|---|
| Granite & Marble Acrylic Repair DIY Kit – Light Cure | Approximately $20 | Fixes small cracks and chips |
| LiquaGlass | Approximately $50 for 3 ounces | Goes well with bigger cracks and chips |
| Quality Epoxy Resin | Varies by brand and amount | Perfect for a strong, seamless repair |
| Hardeners | Included or buy separately | Makes the epoxy tough for lasting fixes |
| Tint | Varies | Makes sure the color matches your counter |
| Polishing Tools | Varies | Required for a fine, polished result |
It’s vital to stay safe while repairing granite cracks. Don’t forget your gloves and eye protection when using granite repair materials. Also, make sure you’re in a well-ventilated area if you’re using epoxy for granite repair. The fumes can be dangerous.
Getting the right materials is really important. Picking the best epoxy for granite repair and tint ensures the repair won’t be seen. Granite countertops are easily damaged. Yet, with the correct tools and materials, you can fix them up good as new. They are usually 2 to 3 cm thick and may crack if not handled carefully.
If you’re in Virginia or close by, you’re lucky. Places like Granite ASAP offer their services in different cities. They include Alexandria, Arlington, Falls Church, Fairfax, and Washington DC. They make sure you get dependable help with any granite countertop repairs you need.
Step-by-Step Guide to Fixing Hairline Cracks
Fixing hairline cracks in granite is easy with the right tools and materials. This guide offers a step-by-step granite repair routine to make your countertop shine again.
Cleaning the Crack Area
To start, clean the crack area well. A mild soap and a soft brush will remove dirt and debris. A clean area is key to a successful hairline crack repair.
Selecting and Mixing the Epoxy
Find a top-notch epoxy resin for granite. Mix it as per the instructions. Add granite dust to the mix for a color match. For cracks smaller than a foot, you’ll only need up to 2 teaspoons of granite powder.
Applying the Epoxy
Fill the crack with the epoxy, making sure it’s slightly overfilled. Epoxy shrinks as it dries. Then, spread it evenly with a fine spatula. This step ensures the crack is fully filled.

Finishing and Polishing
Let the epoxy dry for about a day. After that, polish the surface. Start with a 100 grit buffing pad and go up to 3000 grit. For the final polish, use tin oxide. Hand polish for 10 minutes to get a glossy finish.
Follow these steps carefully for a perfect repair. Using the right method and tools, even hairline crack repair processes can look great. This helps your countertop last longer and stay beautiful.
Repairing Separated Cracks in Granite
Fixing separated cracks in your granite countertops is quite detailed. A smooth finish is key. It involves cleaning the crack, then mixing epoxy with granite dust, and leveling it well. After that, you polish the surface for a like-new look.
Cleaning and Preparing the Crack
First, clean the cracked area well before repair. Use a mix of mild soap and water to get rid of dirt. Then, rinse and dry it completely. This step helps the epoxy stick well.
Applying Epoxy and Granite Dust
Next, mix epoxy with granite dust in a color that matches your countertop. Filling the crack evenly is crucial. A putty knife helps to spread the mixture smoothly into the gap.
Ensuring Proper Leveling
Checking the repaired area’s level is critical. A straight edge helps here. Add more epoxy if needed and scrape off any extra. This ensures your countertop stays flat and smooth.
Final Polishing Steps
After letting the epoxy set well, the last step is to polish the surface. Granite polishing powder and a drill with a buffing pad are used. This step makes the repair match the rest and leaves a glossy finish.
Reattaching Broken Granite Pieces
Fixing broken granite needs careful inspection. First, figure out how bad the break is. This part helps you check the damage, get the pieces ready, and make sure they last.
Assessing the Damage
Look closely at the break to see what shape it’s in. Some small cracks may not need fixing right away. You can use tape and a ruler to measure the damage. For bigger breaks, save some granite dust. You’ll mix this dust with epoxy later on.
Preparing the Broken Sections for Repair
Getting the pieces ready is the next step. Use acetone to clean them well. This removes dirt for a better bond. Put tape around the break to keep things tidy.
Supporting the Repaired Area
Support the fix properly after gluing it back together. Metal supports can stabilize the piece. They can be found online and are great for countertops. Put a second epoxy layer if needed. Then, polish it. These steps will help your granite look like new again.
The Importance of Proper Epoxy Selection
Choosing the right epoxy for granite crack repair is key for your countertop’s look and strength. Epoxy resin can fix chips, cracks, and other problems. It works with many materials, like marble and concrete, too.
Epoxying granite countertops takes several careful steps. It starts with cleaning the damaged spot and applying a primer. Then, you mix the resin and paint it onto the crack. Let it dry for at least 12 hours. Good prep work and mixing are essential for the epoxy to stick well.
About 20% of granite counters can crack because of bad installation. When picking epoxy, think about the stone type, damage, and how you maintain it. For instance, use the right amount of granite powder to match the color when filling cracks. Make sure to tape off the area around the crack to avoid messes and for a neat look.
Shimming the granite to be level is also very important. Epoxy shrinks as it dries, which can mean it needs a second application. Repairing granite can be hard, so lots of people hire pros. They know which epoxy to pick and how to fix the crack right.


