Can I Paint Natural Stone? Tips & Techniques Revealed
The aesthetic charm of natural stone, a ubiquitous choice for areas ranging from kitchen floorings to garden walkways, to majestic roofing, brings with it a rich palette of colors, a silent ode to the millennia of its formation. Yet, as time marches on, the vivacious hues of these stones can dull, casting a longing for their original vibrancy. It poses the question on many homeowners’ and DIY enthusiasts’ minds: Can I Paint Natural Stone?
Indeed, the resilience of natural stone justifies a rejuvenation, not through replacement but through the transformative power of paint. Alas, one cannot whimsically dash colors across these stony canvases as one would a bedroom wall. However, with the right know-how and materials, painting natural stone becomes more than a mere possibility—it becomes a portal to revitalize and enhance the innate beauty of your stone surfaces. From terracotta patios to slate walkways, discover the finesse required in how to paint natural stone and witness how painted natural stone projects breathe new life into age-old materials.
Whether you’re an accomplished DIYer looking to tackle a new project or a beginner feeling adventurous, the world of DIY natural stone painting is inviting. With brushes in hand and hues at the ready, let’s delve into a realm where the transformation of natural stone through painting is not only accessible but ensures a lasting impact on the aesthetic appeal of your environment.
Key Takeaways
- Natural stone is paintable with specific techniques ensuring its color longevity and appeal.
- Cleaning and prepping the stone surface is crucial before applying any paint.
- Sealants play a key role in both preparing the stone and preserving the paint job.
- Choosing the correct type of paint is essential for a successful natural stone painting project.
- With the right approach, DIY natural stone painting can significantly enhance the visual dynamics of your space.
- Patience and attention to detail are vital for achieving professional-looking results in painted stone projects.
Understanding Natural Stone and Paint Compatibility
Embarking on a natural stone surface painting project requires a keen understanding of the substrate’s properties. Natural stone exhibits a range of textures and levels of porosity that can significantly influence the outcomes of painting. To ensure the best paint for natural stone adheres to the surface, meticulous prep work precedes the act of painting itself. Sealing and treating the stone properly to create an optimal canvas for the new color is the foundation for a successful transformation.
Qualities of Natural Stone as a Painting Surface
When it comes to the suitability of natural stone for painting, its inherent qualities are both an advantage and a challenge. The longevity that makes natural stone a popular choice for architectural applications also suggests it can endure the application of paint and sealants. Yet, this same resilience comes with varying degrees of porosity and texture that affect paint adherence and aesthetic results. Identifying these nuances is crucial for applying painting techniques for natural stone that not only enhance but also prolong the surface’s appeal.
Types of Natural Stone Suited for Painting
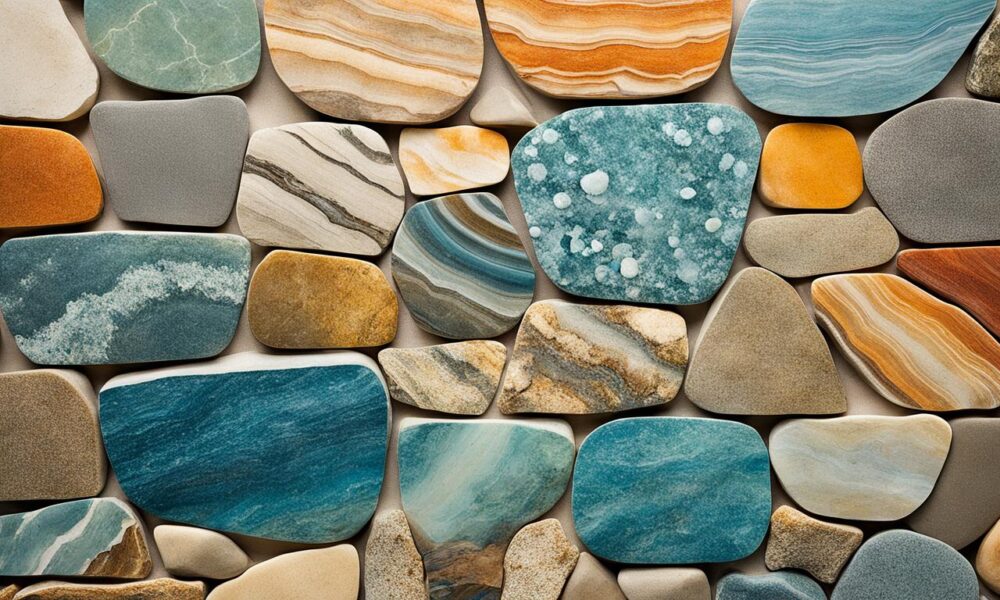
While the variety of natural stone types is vast, not all are equally amenable to a coat of paint. Surfaces like slate, limestone, and sandstone, with their relatively manageable absorption rates, tend to welcome a paint job more than denser counterparts. They blend the aesthetic virtues of stone with newfound hues post-painting. However, even less porous stones can be painted with the proper preparation and sealing.
Choosing the Right Paint for Your Stone Project
Deciding on the best paint for natural stone is a critical step. Options range from acrylic and latex paint—known for their versatile application on stone surfaces—to mineral-based paints desired for their natural, flat sheen resembling stone’s organic essence. Each type has unique benefits and potential limitations, contingent on the stone type, paint longevity, and the desired visual outcome. Thus, informed decisions pave the way for natural stone surface painting that withstands the tests of time and trends.
- Ensure thorough cleaning to get rid of dust and dirt
- Select a quality sealant to create a non-porous layer for painting
- Inspect sealed surface to confirm even coverage and address any dull spots
- Choose a paint that complements the stone’s natural characteristics
By arming themselves with knowledge and the appropriate materials, DIY enthusiasts can undertake a natural stone painting project with confidence, achieving results that resonate with both beauty and durability.
Can I Paint Natural Stone
The beauty and longevity of natural stone make it a sought-after material in home design, but what happens when the allure of its original hues starts to fade? The answer lies in the heart of DIY natural stone painting, an effective method that allows homeowners to refresh and personalize their stone surfaces. With the right approach, how to paint natural stone is a question that yields a variety of rewarding answers.
One of the key aspects of painting natural stone is understanding the characteristics of the stone itself. For instance, the porous nature of travertine lends itself to absorbing paint, providing the opportunity for a translucent, whitewashed effect that maintains the stone’s natural texture. It’s a delicate balance of ensuring a coverage that complements the stone’s innate beauty while securing the paint job for enduring appeal.
While the idea of painting stone may seem daunting, the steps are structured and simplified for anyone to follow. One might question, for instance, whether travertine, with its unique surface, can undergo transformation through paint. Indeed, by embracing a series of steps that include cleaning, optional priming, painting, and sealing, even travertine can be reborn with a splash of color or a subtle tinting.
To ensure the longevity of the paintwork, a sealant is crucial as a finishing touch, providing a protective layer that allows your freshly painted stone to face daily wear while maintaining its new vibrant appearance. The steps may vary slightly depending on whether it’s a kitchen backsplash or a stone tile floor that’s receiving the makeover, but the fundamental process remains consistent: clean, prime if desired, paint, and seal.
Let’s break down the process into clear steps:
- Cleaning: Remove any dust, debris, or grime to ensure the paint adheres well.
- Priming (Optional): Apply a primer for a more opaque color, or skip for a natural effect.
- Painting: Apply paint in coats as necessary, allowing each to cure properly.
- Sealing: Finish with a sealant to protect the paint and enhance durability.
The consensus from painting experts is clear: with a thoughtful selection of materials and a guided approach, one can achieve a stunning and long-lasting finish on their stone surfaces. DIY natural stone painting can be a gratifying project that rejuvenates your home’s natural stonework.
Armed with these insights, homeowners can confidently embark on a natural stone painting project, transforming an erstwhile dull stone backdrop into a centerpiece that reflects their personal style and adds renewed vitality to their living spaces.
Preparing Natural Stone for Painting
Before reinventing the appearance of natural stone through paint, meticulous preparation is essential. This preliminary stage is foundational in achieving a polished and enduring finish, ensuring that the painting tips for natural stone are expertly applied for outstanding results.
Cleaning and Primer Application Techniques
Proper cleaning is the first critical step in how to paint natural stone. Removal of any dust, grime, and debris lays the groundwork for a flawless paint application. When external natural stone requires attention, pressure washing stands as an efficient method to cleanse the surface. For interior projects, specialty cleaners tailored for natural stone prove indispensable, safeguarding the integrity of the stone while affording a pristine state for subsequent treatments.
Following the cleaning phase, an appropriate primer application steps into focus. Choosing a primer designed for stone is pivotal, as it ensures robust paint adhesion and longevity. When applying, it’s advisable to employ a paint tray and a long-handled roller, embracing techniques akin to wall painting, to guarantee an even and comprehensive coverage. This labor, while perhaps painstaking, sets the bar for a high-quality end result.

Using Sealants for Long-Lasting Results
The employment of a sealant for natural stone is a non-negotiable step in the painting process, conferring a layer of protection that amplifies the paint’s durability. Beyond the primer, the sealant application calls for the same level of uniformity, utilizing a paint roller to distribute the product evenly across the stone’s expanse. The drying period of the sealant is not to be undervalued, as a fully cured base is essential for supporting the subsequent layers of paint.
Upon completion of the sealant application, a detailed inspection of the surface is a crucial action to perform. This scrutiny is what allows the keen-eyed painter to discern any irregularities—an area of insufficient coverage, perhaps, or a section that displays an undesirable dullness. Addressing these issues head-on, possibly with touch-ups where needed, ensures a perfectly even canvas for the prime and paint stages that follow.
| Step | Purpose | Materials Needed | Technique |
|---|---|---|---|
| Cleaning | To remove dirt and ensure paint adhesion | Pressure washer or specialty stone cleaner | Sweeping, vacuuming, or pressure-washing for exterior; mopping for interior |
| Primer Application | To create a receptive layer for the paint | Stone-specific primer | Use a roller to apply evenly across the stone surface |
| Sealant Application | To protect the paint and enhance durability | Quality stone sealant | Roll on the sealant with even coverage and allow to dry thoroughly |
Preparation is the bedrock of success in painting techniques for natural stone, blending diligence with insight to yield a canvas ready for transformation. This foundation, carefully laid through cleaning, priming, and sealing, promises a final painted stone surface that will stand the test of time and delight the eye with its renewed vigor and luster.
DIY Natural Stone Painting Step by Step
Embracing the world of DIY natural stone painting can seem daunting, but with patience and the right approach, the results are gratifying and durable. Whether you’re looking to enhance a travertine backsplash or revitalize your stone patio, painting natural stone step by step involves careful attention to detail and thorough preparation to ensure a finish that complements the stone’s inherent beauty.
Step one in our journey of painting tips for natural stone is a thorough cleaning of the stone surface. This ensures that no dust or debris compromises the paint job. Should you seek full coverage, the next step is to apply a primer specifically formulated for stone. Others may prefer to skip the primer, achieving a more natural, translucent finish that honors the stone’s unique textures and tones.

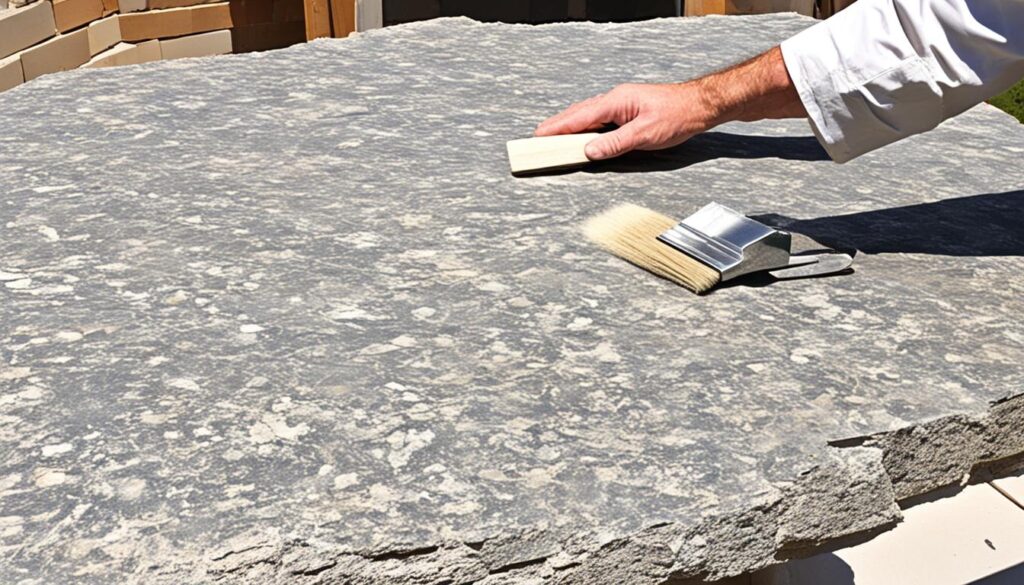
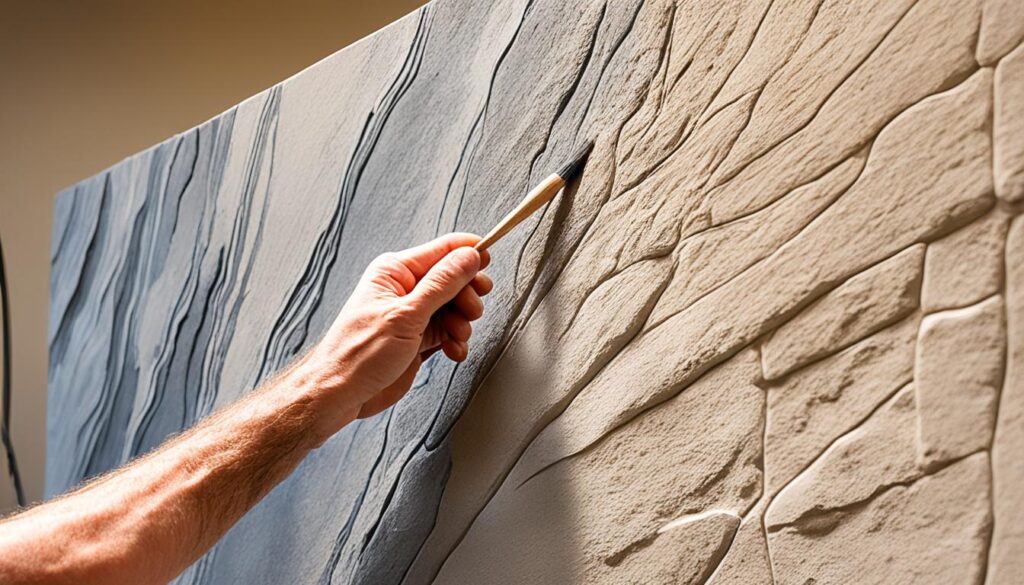
When it comes to the painting phase, the application technique can greatly affect the final appearance. A brush can add character with a textured look, while a lint-free cloth offers a smoother finish. Patience becomes vital here as multiple coats are typically necessary—especially if you’ve chosen to forgo the primer. Ensure each coat dries thoroughly, allowing the stone to properly absorb and cure the paint.
The finishing touch to your DIY natural stone painting project is as crucial as the first stroke of your brush: sealing your work. A tailored stone-tile sealant acts as a guardian against wear, enveloping your handiwork in a protective shell. For stone floors, a floor-specific formula is recommended, as it’s designed to withstand the traffic and usage that floors endure.
| DIY Step | Goal | Recommendations |
|---|---|---|
| Clean the Stone | Prepare the stone for painting | Use specialty cleaners or pressure washing for exterior surfaces |
| Apply Primer (Optional) | Enhance paint coverage and adhesion | Choose primer formulated for stone; apply with a roller for even coverage |
| Painting Techniques | Attain the desired finish | Use brushes for a textured look or lint-free cloths for smooth coverage |
| Seal the Paint | Protect and solidify the paint job | Select a sealant appropriate for the stone type and paint finish |
By following these painting tips for natural stone, you’ll not only enhance the visual aesthetic of your stone elements but also add a personalized touch to your space. Remember, the true beauty of painting natural stone step by step lies in the lasting enjoyment and satisfaction brought by a job well done.
Conclusion
The exploration of natural stone surface painting reveals it as a transformative endeavor, invigorating the essence of natural stone with a refreshing touch. For those wondering, “Can I paint natural stone?” the resounding answer is a definite yes. This journey through the painting process unlocks the potential for homeowners to undertake painted natural stone projects with confidence, armed with knowledge and the proper implements. The stone whispers its age-old stories, but with a coat of paint, it speaks with renewed vivacity.
From the initial cleaning to the vital final sealing, each phase of the painting process reaffirms the importance of thoughtful preparation and precise application. Such projects do more than merely alter surface color; they encapsulate a commitment to preserving the structural integrity and visual harmony of the stone. The realms of DIY natural stone painting stand as a testimony to the ingenuity and skill of those who dare to blend traditional materials with modern aesthetics.
The alchemy of painting upon stone has been demystified, showing not just the viability but also the profound impact that one can achieve. With every brushstroke, the notion that old can become new and dull can shine bright is reinforced. It’s a celebration of the enduring, adaptable nature of stone, and the creative spirit in us all. This proves that natural stone surface painting is more than a mere possibility—it’s an open invitation to enliven, enhance, and perpetuate the elegance that natural stone bestows upon our habitats.


